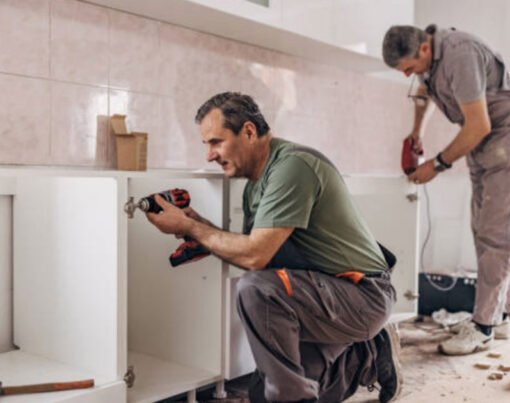
If you’re like most people, the thought of adding insulation to your home is enough to make you break into a cold sweat. An insulation job can be the most exciting home improvement project. Also, it is one of the most important. Not only will insulation make your home more comfortable, but it will also save you money on energy bills.
The good news is that there are a few easy ways to add insulation to your home without breaking the bank. With these seven easy steps, you can insulate your open walls like a pro. Let’s get started!
Table of Contents
1. Choose the Right Type of Insulation
There are two main types of insulation: fiberglass and cellulose. Fiberglass is the most common type of insulation and is made from glass fibers that are spun into a mat. Cellulose is made from recycled paper products and is treated with chemicals to resist fire and pests. For our purposes, either type of insulation will work just fine.
2. Measure the Height and Width of Your Wall Cavities
Most people don’t know this, but before you purchase insulation, you should first measure the dimensions of your wall cavities. This will give you a good idea of how much material you’ll need to buy. The reason this is important is that insulation materials are sold by square foot at most home improvement stores.
So if you don’t know the dimensions of your wall cavities, you could end up buying too much or too little insulation. Either way, it’s not a good situation. So next time you’re at the store, make sure to measure your wall cavities before purchasing insulation. Trust me, it’ll save you a lot of headaches in the long run. Including cavity wall insulation grants is a great way to save on your energy bills. You could qualify for cavity wall insulation grants if you are a homeowner. To find out more about free insulation grants read the Warma UK full guide on how to qualify for a free grant.
3. Cut the Insulation to Size.
Once you have your measurements, cut the insulation to size using a sharp utility knife. Make sure that the pieces fit snugly into the wall cavities; if there are any gaps, fill them in with smaller pieces of insulation or caulk.
4. Install the Insulation
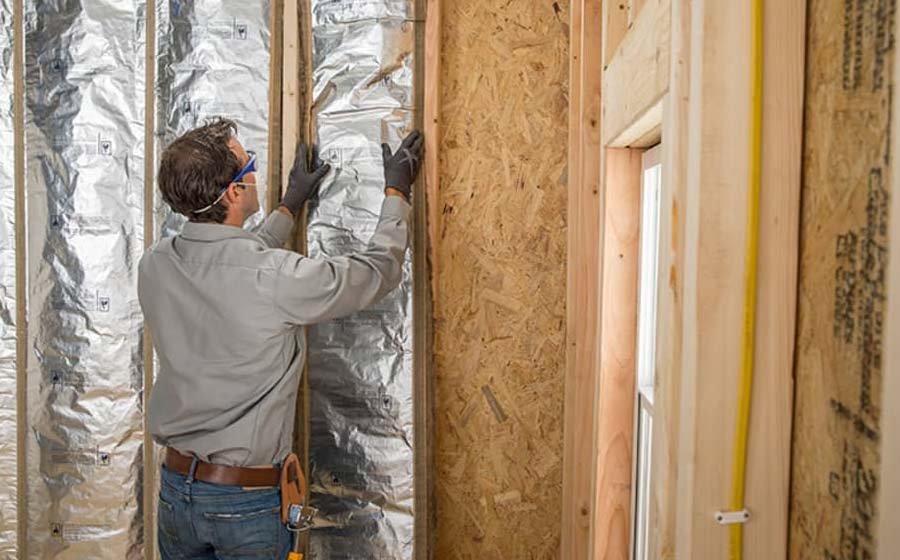
There are two ways to install insulation in open walls: horizontal or vertical installation. Horizontal installation is typically used for walls that are eight feet tall or less, while vertical installation is used for taller walls.
To install the insulation horizontally, start at the bottom of the wall cavity and insert the pieces of insulation one at a time until you reach the top of the cavity. To install vertically, start at one end of the cavity and insert all of the pieces until they’re flush with that end of the cavity; then move to the other end and repeat until all of the pieces are in place.
However, if it so happens that installing it on-your-own causes you a headache, better to rely on experts like iFoam, you will have peace of mind and also a feeling of peace in your wallet because of their affordability.
5. Secure the Insulation in Place with Wire Mesh or Drywall Screws.
Once all of the pieces are in place, use wire mesh or drywall screws. But if it’s not installed properly, it can be a waste of money. Make sure to secure the insulation in place with wire mesh or drywall screws. This will ensure that it doesn’t shift or settle over time and that it will continue to provide the maximum benefit.
6. Cover Any Exposed Edges with Joint Compound.
Now that you’ve followed all the safety instructions to the letter and your home is finally insulated, it’s time to sit back and enjoy the results, right? Wrong. While you may be tempted to take a break at this point, there’s still one important step left: sealing the edges of the insulation with a joint compound. Not only will this help to improve the fire resistance rating of your insulation, but it will also deter pests from chewing through it.
So go ahead and take a few minutes to seal up those edges, and then you can finally relax knowing that your home is well-protected against the elements.
7. Allow the Joint Compound to Dry Completely Before Painting or Papering Over it
And that’s it! Once the joint compound has dried completely, you can go ahead and paint or paper over it just as you would any other surface in your home. Just be sure to use a primer first so that your new paint or wallpaper adheres properly.
In addition, it’s always a good idea to sand the area lightly before you begin painting or papering. This will help to create a smooth surface and prevent any imperfections from showing through. With a little bit of effort, you can easily repair cracks and holes in your walls so that they look good as new.
Conclusion
With these seven easy steps, installing insulation in open walls is a project that even beginner DIYers can tackle with confidence. Not only will insulating your home saves you money on energy bills, but it will also make your home more comfortable year-round. So what are you waiting for? Get started today!