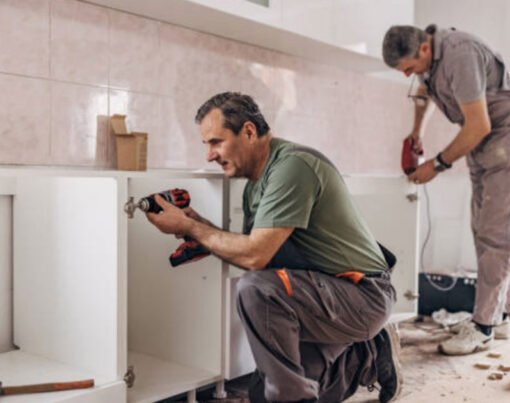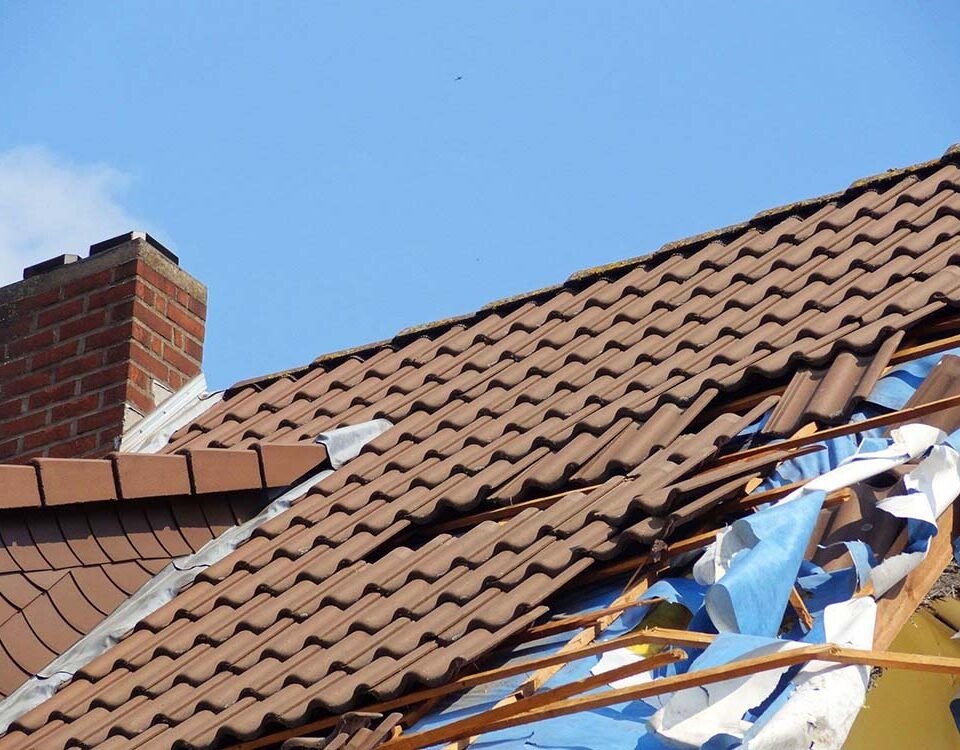
After a recent storm, your home has suffered some damage to the roof. You’ve identified that some shingles need replacing, but you don’t know what else needs to be done.
Knowing how to patch a storm damaged roof yourself could save you time and money. So, you roll up your sleeves and decide to do the job yourself. Let’s look at the steps you need to take when patching a storm damaged roof.
Table of Contents
Choosing Suitable Materials for Repair
When patching a storm-damaged roof, choosing suitable materials for the repair is important. The most commonly used materials are roofing tar, roofing felt, and shingles.
Roofing tar is one of the most durable and cost-effective ways to patch a roof. It is fast, easy to apply, and it gives your roof a waterproof seal. ‘
Roofing felt is also an effective solution and can be applied in a matter of minutes. However, it is not as durable as roofing tar.
Finally, shingles can provide a long-term solution. While they can be more costly and require more time to install correctly, they will outlast the other materials.
Choosing suitable materials is essential for a successful storm-damaged roof repair, so it is vital to research your options thoroughly before getting started.
Preparing the Roof for Repair
Begin by performing an interior inspection to assess the extent of the damage and make sure there are no missing shingles. If there is any standing water, use a wet/dry vacuum to remove it from the area. If broken branches or other debris is present, clear it from the roof.
Inspect the flashing and sealant of the roof and replace them if needed. A roofing professional should be called in if additional repairs are required. Professional roofers like Santee Roofing can determine the extent of the damage and plan out the best way to repair it.
It is important to ensure the roof is structurally sound and not at risk for additional water damage. Once the roof is prepped, you can begin patching and repair work.
Mending Major Damage
Mending major damage to a roof, often caused by a storm, can be a real challenge. It may be necessary to cut away shingles and install metal flashing over problem areas. Then, cut a piece of rubber membrane slightly oversized, attach it to the roof, and seal the edges.
The membrane should be thick enough to patch any openings or worn spots in the existing roofing material. Finally, complete the job by adding an appropriate sealant around any flashing and seams.
Securing the Roof from Future Storms
Inspect the valleys and corners of the roof to check for potential storm damage, and use metal, plastic, or aluminum flashing to seal those areas. Finally, cover the whole roof with a tarp to secure it from future storms. Once the tarp has been in place, inspect the roof after each storm and make repairs as needed.
Know What to Do With a Storm Damaged Roof
A properly patched storm damaged roof will ensure the safety and security of your home and its inhabitants. With the correct tools and knowledge, patching a storm damaged roof should be a no-brainer. So don’t wait any longer, and start patching your roof today! Don’t forget to call the professionals for assistance!
For more articles on all things home-related, be sure to check out the rest of our blog!