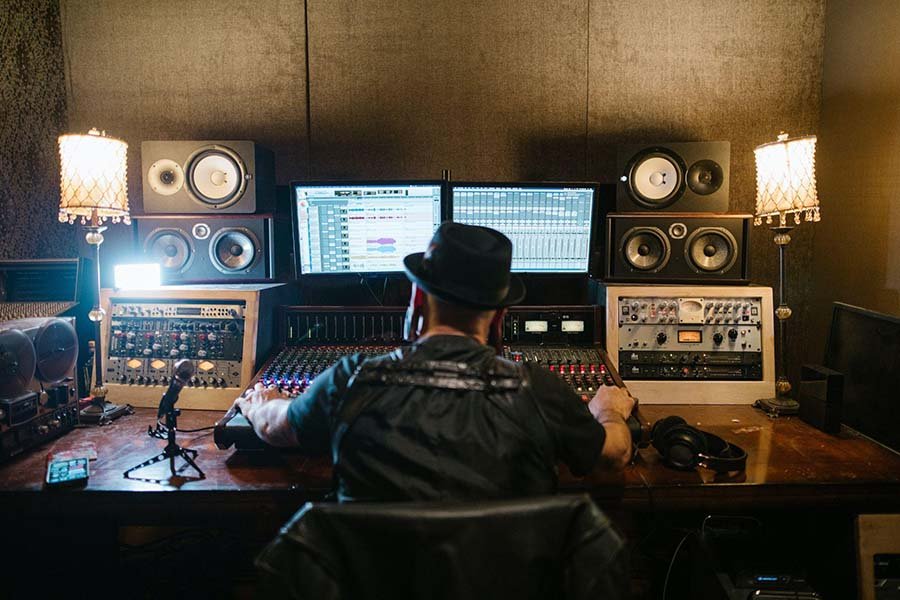
FL Studio is a well-known digital audio workstation (DAW) used by many musicians and producers alike.
If this is your first time trying it, here are some tips to help you navigate your DAW.
Table of Contents
The main windows
Like with any music gear, such as audio interfaces, it just takes some getting used to for one to master it.
Let’s start with navigating the main windows of the DAW. There are six that you will see, each containing different functions.
Toolbar
On the very top is the toolbar.
The toolbar is where buttons like play, stop, forward, rewind, and record are placed. This part also contains other important functions like the metronome, bpm counter, and other shortcut keys.
Three specific buttons worth mentioning are the pat, stop, and snap buttons.
The pat and stop buttons let you switch between what is being played, whether it is the channel rack or in the arrangement (more info on those later).
On the other hand, the snap button is an instant quantize button that can help you keep what you are recording in time.
Browser
On the very right side, you will find the browser. This is like a library for your DAW.
This section contains other folders that you can access for different things. These include a folder for your projects, presets, sound library, plug-ins, and scores, to name a few.
Having a dedicated section for sounds helps make it easier to navigate and select what you want for a certain part of the song.
You can even add your folder of sounds and samples. Just go to options>file settings.
Arrangement
This is the part that takes up the most space and the one everyone is familiar with.
Also known as the arrangement view, this window shows all the tracks you are recording and how they are arranged.
Piano Roll
This part is for when you are writing midi notes or editing them.
Channel Rack
The last window is the channel rack. This acts like a sequencer for beats.
This is where you can sequence different sounds in a drum machine to make a beat easily for your project.
The channel rack is a feature unique to FL Studio.
The best part of FL Studio’s layout is that it is customizable. The different sections aren’t fixed at a certain position, allowing you to move them around anywhere you prefer.
You might have a different preference with how you want to view the arrangement deck or have a more comfortable placement of the toolbar. This feature is beneficial should you have such preferences.
Workflow
Workflow varies from person to person. There isn’t a strict rule to follow, as it depends on what works for you.
The only flow to follow is to record, arrange, edit, then mix and master, but how you go about that is up to you.
Here are some explanations regarding some of the steps that will occur during the recording process.
Recording
There are two ways on how you can track sounds. You can either record sounds through your audio interface or program them.
Now we will get into more detail with the channel rack and piano roll for this section so you can know how to make music with these tools.
Channel Rack
The channel rack is what helps you design your beats.
By default, you will be given four stock sounds to work with. You can add more and change them to other sounds of your choosing.
The step sequencer is what does the layout and sketching of ideas. Left-click the box to add a step and right-click to delete one.
To name a few, other controls present in the channel rack are volume and panning. There is also a mixer option if you only need to mix that certain part of the song.
Piano Roll
Beats aren’t the only part of a song. Chords and melodies are also a factor.
This is where the piano roll comes in. This tool is great for creating chords and melodies. You can either plug in your midi controller or just map it out with the help of your mouse.
On top of the piano roll is a toolbar with the following tools common in many DAWS.
You have the draw tool, which makes you write down notes. As the name suggests, the delete tool takes away a note.
Slice breaks down one note into two when you want to change a long note into two short ones. The select tools let you pick a note or a group of notes.
Arrangement
The next logical step is to arrange the sounds you created or recorded.
While the channel rack and piano roll help you create loops and melodies, it is in the arrangement window where you can structure them to make them more of a complete song.
Creating a song is more than just stacking a bunch of sounds and beats together. What helps make a song stand out is to have some sort of narrative structure.
For example, you can start the song with just a melody. Then, you can add the beat and chords in the next part. This is just one example. You are free to structure it any way you feel.
The arrangement presents an area for you to visualize and place tracks in different areas of the window.
Mixing
Once you have arranged the song, the next step is to make it sound cohesive and well put together. Mixing is what makes the song feel less cluttered and more organized.
This is where the last window comes in, the mixer.
Each channel in the arrangement window has its own mixer track, with the master track being on the far left.
Each track has its own meter, which indicates the level of each track. Each track also has a mute switch, a solo switch, pan controls, and a stereo imager.
Volume control will be the main tool in helping the tracks blend cohesively.
The last step is mastering. This is a more advanced step compared to mixing. In simple terms, this part helps make the song sound consistent in any listening device.
Conclusion
The best way to master a DAW is to keep making music with it. It might be difficult at first, but over time, you will start to get used to the layouts and tools present.
Hope this guide was able to help, and good luck with your next song.
