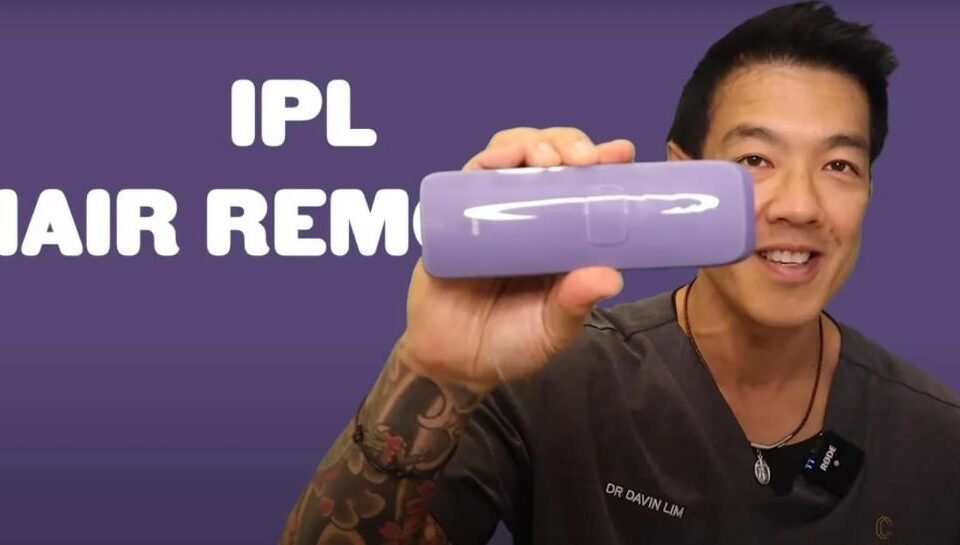
Unwanted hair can be a constant hassle, but Intense Pulsed Light (IPL) hair removal devices have revolutionized the way we approach hair removal in the comfort of our own homes. These devices use light energy to target hair follicles, leading to gradual hair reduction over time. To ensure safe and effective usage, here is a detailed step-by-step guide on how to use an IPL hair removal device.
Table of Contents
Step 1: Device Selection and Patch Test
Choose the Right Device: Research and select an Ulike IPL hair removal device that suits your skin tone, hair color, and specific needs. Look for user reviews and device certifications.
Conduct a Patch Test: Before starting a full treatment, perform a patch test on a small, inconspicuous area of your skin. Follow the manufacturer’s instructions and wait for 24 hours to ensure your skin doesn’t react adversely to the treatment.
Step 2: Skin Preparation
Cleanse the Area: Thoroughly clean the area you intend to treat to remove any makeup, lotions, or oils. Dry your skin completely before proceeding.
Shave the Area: For best results, shave the treatment area a day before using the IPL device. This ensures the light energy is focused on the hair follicles beneath the skin.
Step 3: Set Up the Device
Read the Manual: Carefully read the user manual that comes with the IPL device. Familiarize yourself with the device’s settings, buttons, and safety instructions.
Plug In and Power On: Plug in the device and power it on according to the manufacturer’s instructions. Most devices require you to choose an energy level before starting treatment.
Step 4: Begin the Treatment
Select the Energy Level: Choose the appropriate energy level based on your skin tone, hair color, and comfort level. Start with a lower energy level if you’re new to IPL hair removal. You can read a detailed Ulike blog about how to use Ulike.
Hold the Device Properly: Hold the device perpendicular to your skin and ensure it makes good contact with the treatment area.
Press the Flash Button: Press the flash button to emit the light pulse onto the skin. Some devices might have a manual or automatic flash mode.
Move the Device: After each flash, move the device slightly to overlap the previous area. This ensures complete coverage of the treatment zone.
Step 5: Cooling and Comfort
Cooling Mechanisms: Some IPL devices come with built-in cooling mechanisms to enhance comfort during the treatment. Use these features if available.
Take Breaks: If you experience discomfort or heat buildup, take short breaks between flashes to ensure your skin remains comfortable.
Step 6: Post-Treatment Care
Apply Soothing Gel: After completing the treatment, apply a soothing gel or moisturizer to calm the skin and reduce redness or discomfort.
Avoid Harsh Products: Avoid using harsh skincare products or exfoliants on the treated area for at least 24 hours.
Step 7: Treatment Schedule
Follow the Manufacturer’s Recommendations: Follow the recommended treatment schedule provided by the manufacturer. Typically, you’ll start with more frequent sessions and gradually space them further apart as hair growth diminishes.
Step 8: Maintenance Sessions
Regular Maintenance: Even after achieving your desired results, occasional maintenance sessions may be necessary to ensure long-lasting hair reduction. Follow the maintenance schedule recommended by the manufacturer.
Step 9: Professional Consultation
Seek Professional Advice: If you have concerns, questions, or experience unexpected reactions during your IPL treatment, consider consulting a dermatologist or skincare professional.
Conclusion
Using an IPL hair removal device can be an effective way to achieve long-lasting hair reduction in the comfort of your home. By following this comprehensive step-by-step guide and adhering to safety precautions, you can confidently embark on your journey to smoother, hair-free skin. Always remember that individual results may vary, and patience and consistency are key to achieving the best outcomes.